
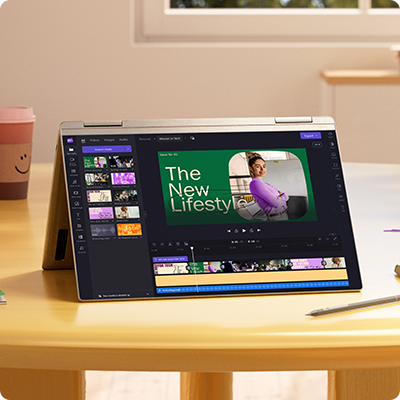
Make the everyday easier
Whether you’re gaming, studying, running a business, or running a household, Windows 11 helps you get it done. Discover streamlined new features for every way you work, learn, and play.

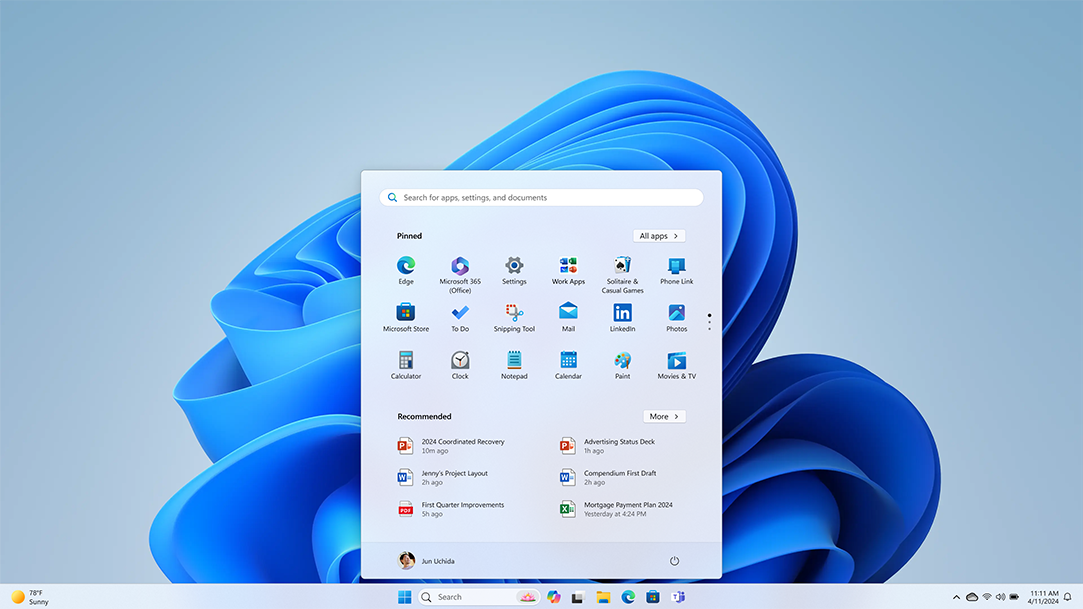
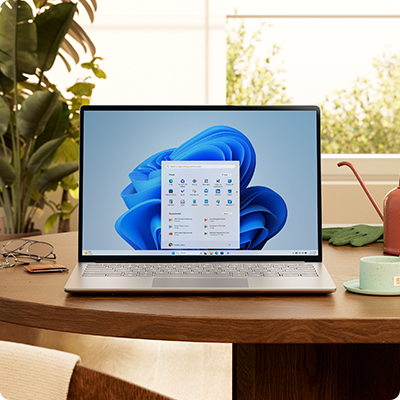
Meet Windows 11
Learn how to use the new features of Windows 11 and see what makes it the best Windows yet.
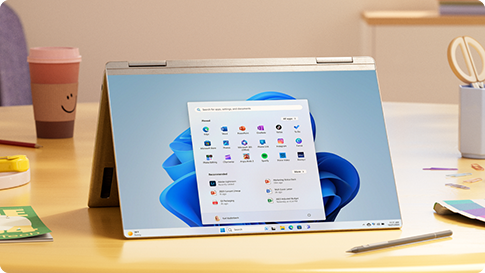
Upgrade your experience
Learn how to get Windows 11 on your current PC4, or purchase a new PC that can run Windows 11.
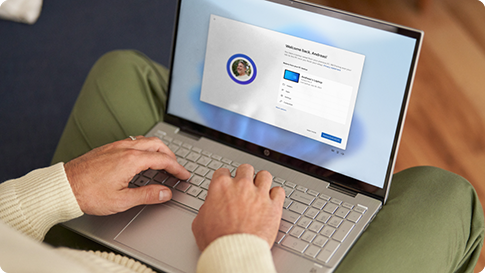
Get help
Need help transferring files, resetting a password, or upgrading to Windows 11? Explore the Windows support page for helpful articles on all things Windows. Have a specific issue you’re troubleshooting? Ask your question in the Microsoft Community.
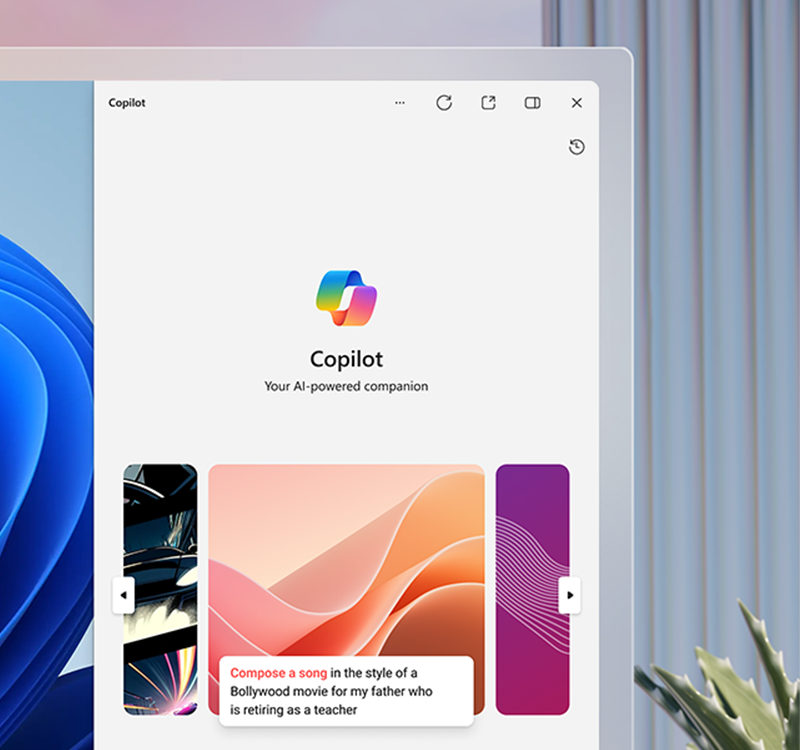
Meet Copilot in Windows
Find the information and ideas you need to power your ingenuity. Copilot in Windows6 is a new AI feature in Windows 11. With it you can get answers fast and ask follow-up questions, get AI-generated graphics based on your ideas, and kickstart your creativity while you work. Get to know Copilot in Windows, your new intelligent assistant.
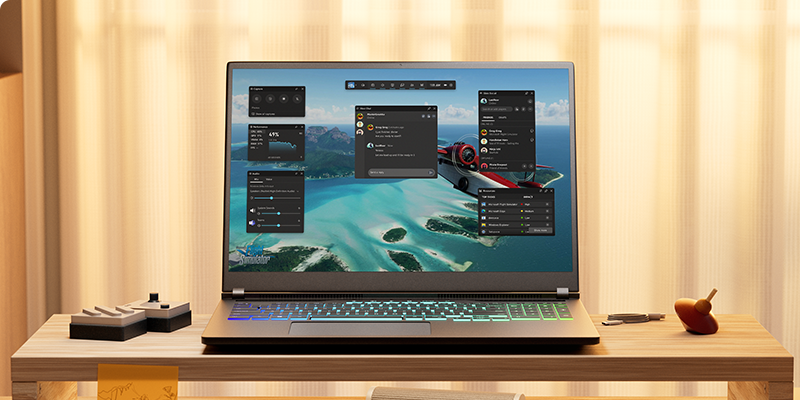
Sync your PC & phone
Microsoft Phone Link makes it possible to make calls, reply to texts, and check your phone’s notifications from your PC5.
Sync your PC & phone
Microsoft Phone Link makes it possible to make calls, reply to texts, and check your phone’s notifications from your PC5.


Better together
Discover the Windows 11 experiences built to bring your favorite Microsoft tools to life.
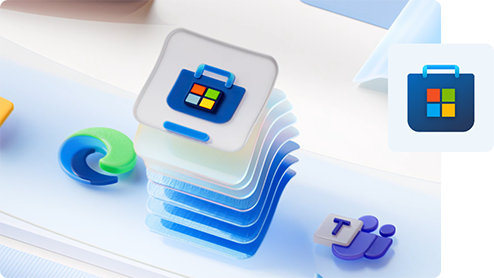
Microsoft Store
The apps you need. The shows you love. Find them fast in the new Microsoft Store.1 2
Microsoft Edge
Make the most of your time online with the browser built for Windows.
Microsoft 365
Maximize your productivity with easy-to-use Windows 11 multitasking tools built to work with the Microsoft apps you use every day.3
Looking for more?
Get help with your transition to Windows 11, and make the most of your Windows experience.

Get Windows 11
Intuitive. Easy. Faster than ever. Experience all Windows has to offer.4
Get Microsoft news and updates
Subscribe to our newsletter to get the latest news, feature updates, how-to tips, deals and more for Windows and other Microsoft products.
Become an insider
Register with the Windows Insider Program and start engaging with engineers to help shape the future of Windows.
- 1 Screens simulated. Features and app availability may vary by region.
- 2 Some apps shown coming later. Certain apps only available through Microsoft Store app in Windows 11.
- 3 Microsoft 365 subscription sold separately.
- 4 Windows 11 upgrade is available for eligible PCs that meet minimum device specifications. Upgrade timing may vary by device. Internet service fees may apply. Features and app availability may vary by region. Certain features require specific hardware (see Windows 11 specifications).
- 5 Phone Link experience comes preinstalled on your PC with Windows 10 (running Windows 10, May 2019 Update at the least) or Windows 11. To experience the full functionality, Android phones must be running Android 7.0 or later. Phone Link for iOS requires iPhone with iOS 14 or higher, Windows 11 device, Bluetooth connection and the latest version of the Phone Link app. Not available for iPad (iPadOS) or MacOS. Device compatibility may vary. Regional restrictions may apply.
- 6 Rolling out gradually in preview within the latest updates to Windows 10 and Windows 11 in select global markets. Timing of availability varies by device and market. For Copilot in Windows 10, see Windows 10 system requirements.
Follow Microsoft Windows
Share this page